A false ceiling can either make lighting softer and more useful or create glare, dark corners, heat problems and difficult repairs. By comparing layouts, materials, service clearances, lighting specifications and quotations, you can choose a ceiling that improves the room without sacrificing usable height or maintenance access.
Key takeaways
- Keep ceiling drops shallow in rooms with limited slab height.
- Choose gypsum, PVC or metal by moisture, weight and maintenance needs.
- Layer ambient, task and accent lighting to prevent glare and dark surfaces.
- Confirm fan, beam, wiring and access-panel locations before closure.
Match the Ceiling Layout to the Room’s Height and Light Pattern
A ceiling that drops too far can make a compact room feel shorter, even when its lighting is excellent. Match the layout to both the slab height and the direction in which light needs to travel.
| Layout | Light distribution | Effect on perceived height |
|---|---|---|
| Single-level false ceiling | Spreads recessed downlights evenly across one clean plane; works well for uniform ambient light. | Preserves the existing visual height better than layered designs, provided the drop is shallow. |
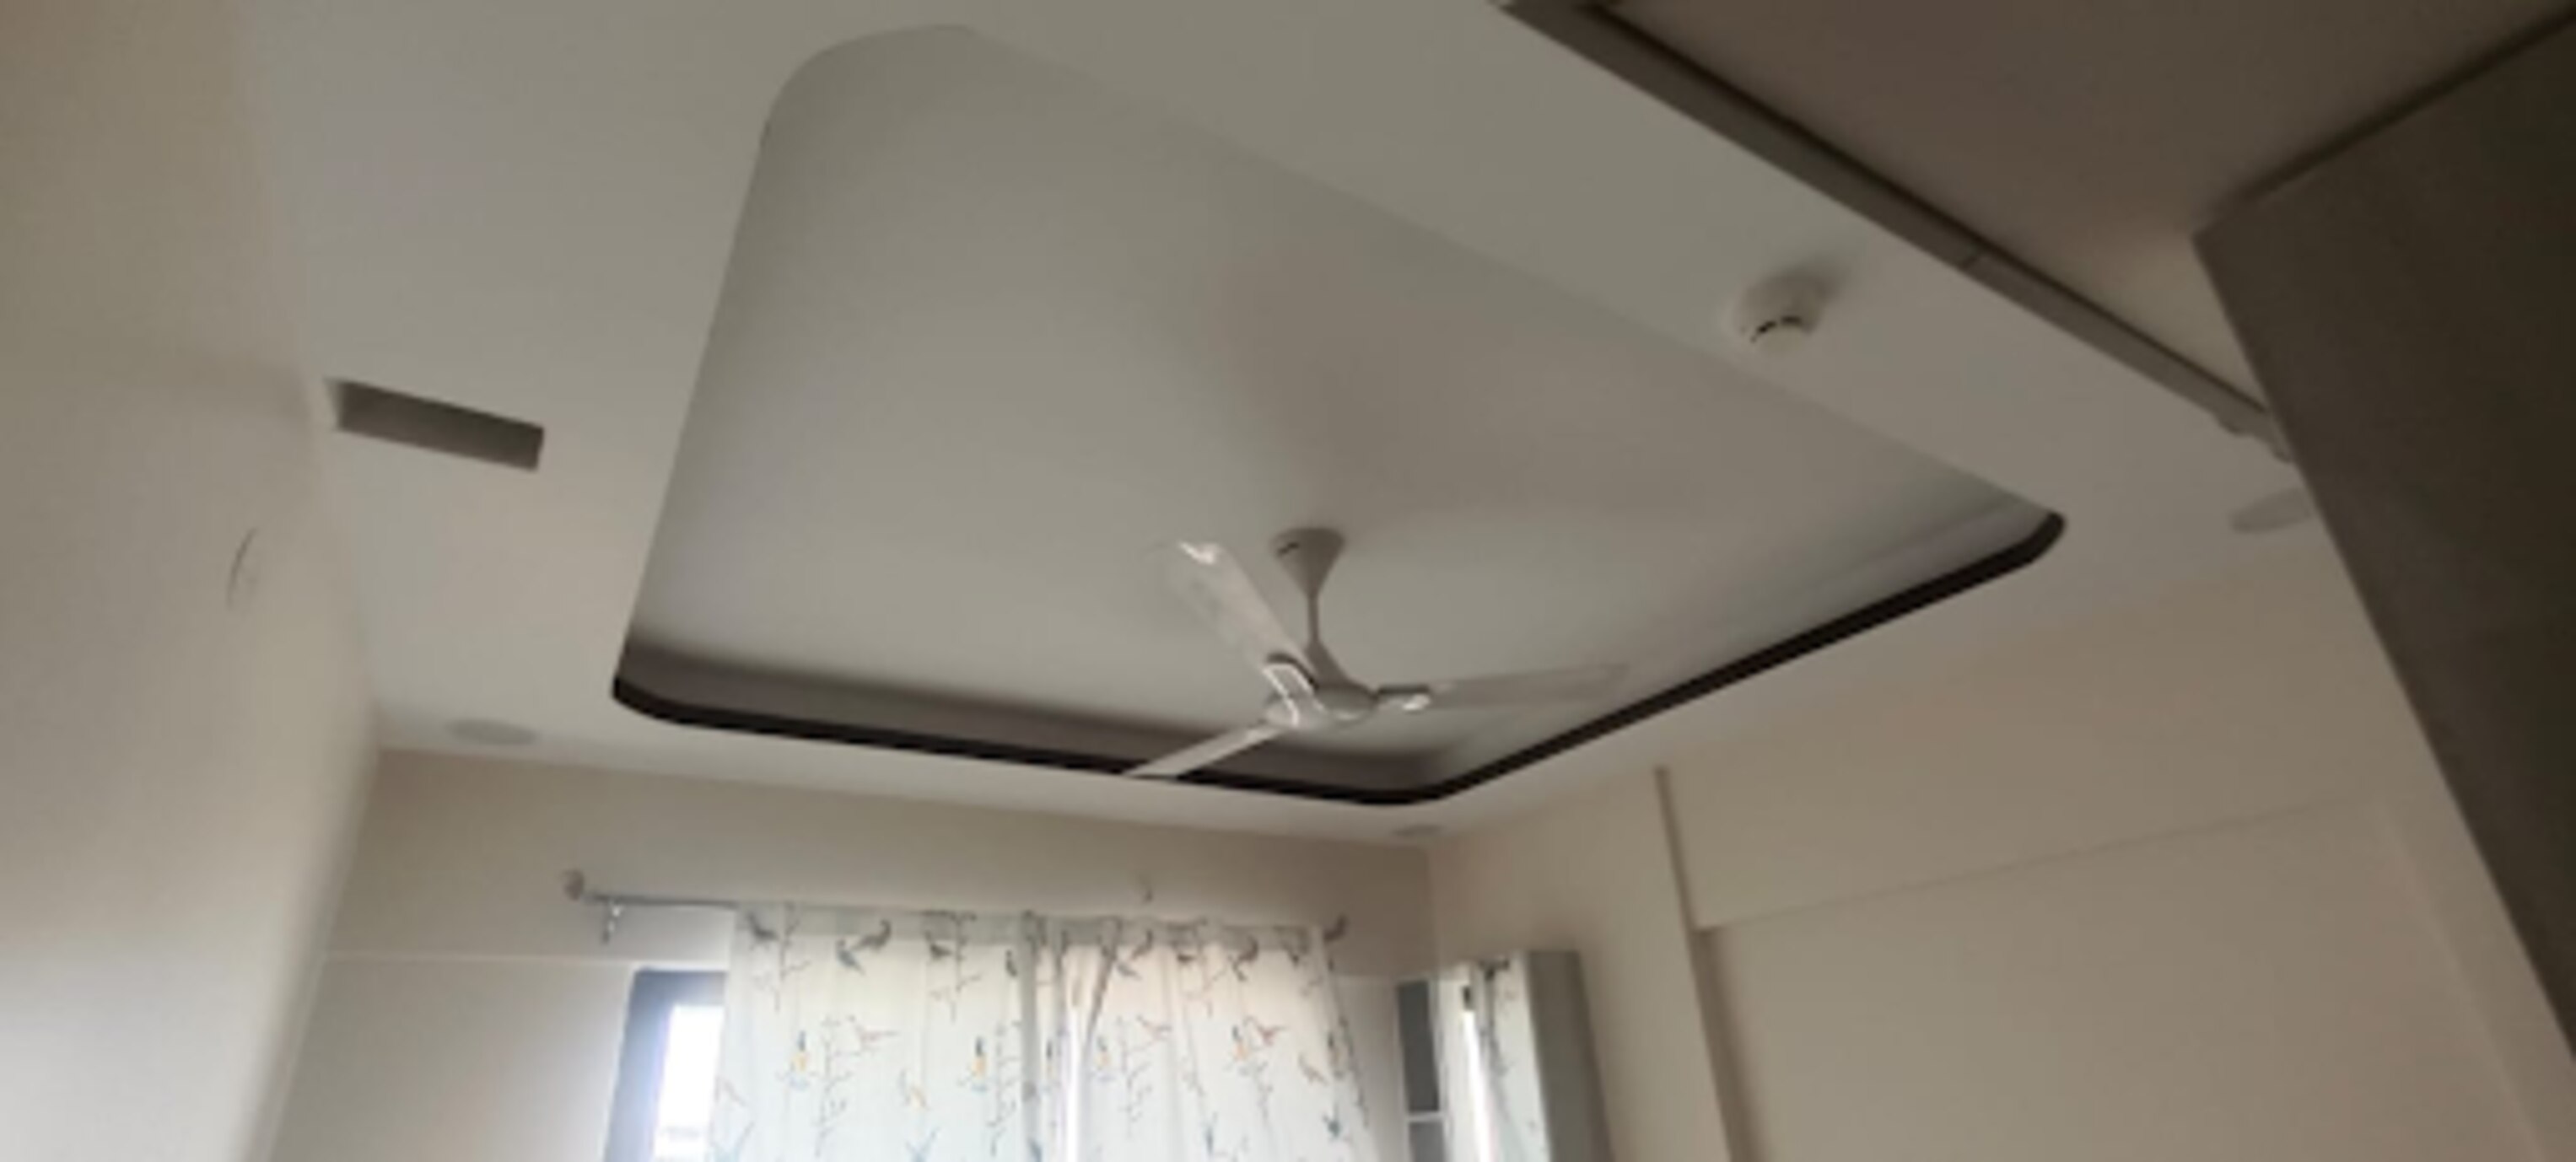
| Tray ceiling | Places a raised central panel inside a lower border; the tray can hold downlights or a pendant. | Makes the centre feel taller, but a deep border can reduce that benefit. |
| Cove lighting | Sends concealed light upward so the ceiling reflects a soft, indirect glow instead of exposing bright points. | Makes the surface appear to float and feel higher; use a bright, matte ceiling for better reflection. |
| Perimeter drop ceiling design | Lowers the edges to conceal wiring, curtain tracks or services while leaving the centre open. | Can enlarge the centre visually, but a bulky drop feels oppressive in a low room. |
| Floating ceiling | Suspends a separate panel with a shadow gap and concealed LED strip around its edge. | Creates a dramatic lifted effect, though the panel can visually lower the space beneath it. |
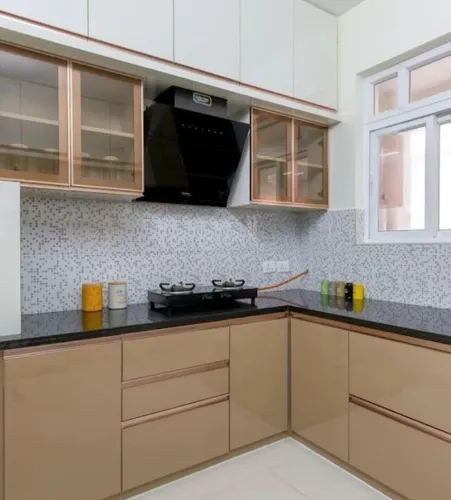
In a kitchen, place task lighting over worktops rather than assuming ceiling downlights will remove cabinet shadows. Keep cove ledges shallow and accessible: grease and dust collect on upward-facing surfaces, while enclosed LED drivers need ventilation.
Choose a Ceiling Material for Moisture, Weight and Maintenance
Steam, grease and cleaning moisture make the kitchen a tougher test than a bedroom. Choose the material for its exposure and access needs, not only for its pattern or colour.
| Material | Strengths | Watch-outs and best use |
|---|---|---|
| Gypsum board | Smooth, paintable surface with concealed wiring and soft cove lighting | Use moisture-resistant board in kitchens, but do not treat it as waterproof. Provide inspection hatches for LED drivers, junction boxes and valves. |
| Plaster of Paris | Lightweight, mouldable finish for curves, cornices and decorative details | A plaster of Paris ceiling can crack after movement and is difficult to repair invisibly. Keep it away from persistent dampness. |
| PVC | Washable, moisture-tolerant and quick to replace | A PVC false ceiling suits utility areas and humid rooms, but its panel joints and plastic appearance may not match a refined living area. |
| Metal | Durable, clean-lined and suitable for removable service access | Metal false ceiling panels work well in commercial kitchens or contemporary interiors; specify a corrosion-resistant finish near steam. |
| Wood | Warm texture and strong visual character | Wood needs protection from moisture, grease and termites, and its weight demands a properly designed frame. |
For a seamless painted finish, select gypsum board and specify the paint sheen and access-panel positions. Choose PVC for easy cleaning, metal for durability, or wood for warmth. Do not call a sealed gypsum ceiling acoustic treatment without an absorption rating such as NRC. Good ventilation still matters more than the board label.
Build Three Lighting Layers Without Glare or Dark Work Surfaces
Use ambient lighting for safe overall movement, task lighting for work surfaces, and accent lighting to direct attention. A single row of recessed downlights rarely does all three jobs: it can leave countertops in shadow while putting glare in your eyes.
| Layer | Best location | Practical purpose |
|---|---|---|
| Ambient lighting | Cove, ceiling-mounted fittings or widely spaced recessed downlights | Provides comfortable general illumination without concentrating brightness in one spot |
| Task lighting | Under wall cabinets, above an island or beside a dressing mirror | Lights the surface where you chop, read or work; under-cabinet fittings prevent cabinet shadows |
| Accent lighting | Adjustable wall washers, niche strips or display spotlights | Highlights artwork, textured walls, shelves or architectural details |
Aim recessed downlights at circulation areas rather than directly above your head or the front edge of a cabinet. Keep fittings away from glossy surfaces that reflect glare, and use wall-washing or adjustable beams instead of placing a spotlight close to a wall.
Choose one colour temperature across connected spaces: 2700–3000 K suits relaxed living areas, while around 3000–4000 K gives work areas a crisper appearance. Specify colour rendering of CRI 80 or higher for general rooms and CRI 90 or higher where you judge food, fabric or paint colour.
Add dimming scenes for cleaning, cooking, entertaining and watching television. Confirm that the LED luminaire, driver and dimmer are compatible; otherwise expect flicker, buzzing, limited dimming or lights that never switch fully off. Check the dimmer’s minimum-load requirement before purchase.
Coordinate Beams, Fans and Services Before Closing the Ceiling
Resolve every beam, fan and service route before the frame is installed; otherwise a misplaced support, duct or junction box can force cuts through a finished ceiling.
1. Mark beams, slab drops and fan locations on the plan. Keep the fan fixed to the structural slab or a properly designed support, not to gypsum board. Confirm false ceiling height clearance after allowing for the frame, light fittings, air-conditioning pipes and duct slopes.
2. Map existing conduits, junction boxes, plumbing lines and internet cables before drilling. Reserve routes for new wiring, and confirm that LED fittings, drivers and dimmers are compatible; an unsuitable dimmer can cause flicker, buzzing or incomplete shut-off.
3. Coordinate air-conditioning vents in the false ceiling with beams, lights and fan blades. Leave space around LED drivers for heat dissipation, and provide an LED driver access panel sized for removal without dismantling the ceiling. Do not trap drivers in an unventilated pocket.
4. Provide inspection hatches below valves, plumbing clean-outs, junction boxes and concealed equipment. A leak or failed connection without access can turn a small repair into ceiling demolition.
5. Set the curtain track line before closing the perimeter. Curtain track concealment needs a recessed pocket with enough depth for the track, curtains and hand movement, while avoiding conflicts with the wall, beam and air-conditioning outlet.
Have the electrician, HVAC installer and ceiling contractor approve one coordinated reflected ceiling plan before framing begins. Photograph concealed services before boards cover them.
Compare a False Ceiling Quotation by Its Hidden Inclusions
A low Pune quote can hide missing framing, light points, painting or access panels. For a false ceiling quotation comparison, check whether the rate is per square foot of finished ceiling or built-up area, and ask the contractor to state the measured area, ceiling drop and proposed material.
Ask for these details in writing:
- Board brand, board thickness and framing: confirm gypsum type, thickness, galvanised channels, perimeter angles and corrosion protection.
- Suspension spacing: require the main-channel, furring-channel and hanger spacing, especially where fans, lights or air-conditioning equipment add weight.
- Electrical scope: count downlights, LED strips, drivers, switch points, wiring length and dimmer compatibility.
- Finishing scope: joint tape, three-coat putty, primer, paint, cove detailing and the finish level after sanding.
- Access and exclusions: identify inspection hatches, driver access, scaffolding, debris removal, beam boxing and electrical or plumbing alterations.
| Item | Itemised quotation | Lump-sum quotation | What to verify |
|---|---|---|---|
| Material | Brand and thickness named | “Gypsum ceiling” only | Board grade, framing gauge and finish |
| Lighting | Point count and driver scope | “Lights included” | Fittings, wiring and dimming |
| Maintenance | Hatch size and locations | Not mentioned | Access above drivers, valves and junction boxes |
| Commercials | Area, rate, GST and payment stages | One total | GST in contractor quotation and exclusions |
Nilkanth Modular Kitchen Interior - 9766310041 can help you review a coordinated ceiling and kitchen-services scope; use the same checklist to compare its proposal with another contractor’s offer. Reject any quote that changes material, area or light-point counts without a signed revision.
Frequently asked questions
How do you match a false ceiling layout to room height and light direction?
Keep the drop shallow in low rooms and position bands, coves and fixtures according to the required light path.
Which false ceiling material suits moisture, weight and maintenance requirements?
Compare gypsum, PVC and metal against the room’s moisture exposure, fixture weight, cleaning needs and repair access.
How can you create layered ceiling lighting without glare?
Combine ambient, task and accent lighting, then aim fixtures away from eyes and directly onto work surfaces.
What must be coordinated before closing a false ceiling?
Mark beams, fans, ducts, wiring, service points and access panels before the ceiling framework is covered.
What hidden inclusions should you check in a false ceiling quotation?
Check the quote for framework, boards, joint treatment, paint, wiring, fixtures, access panels, installation and repair allowances.