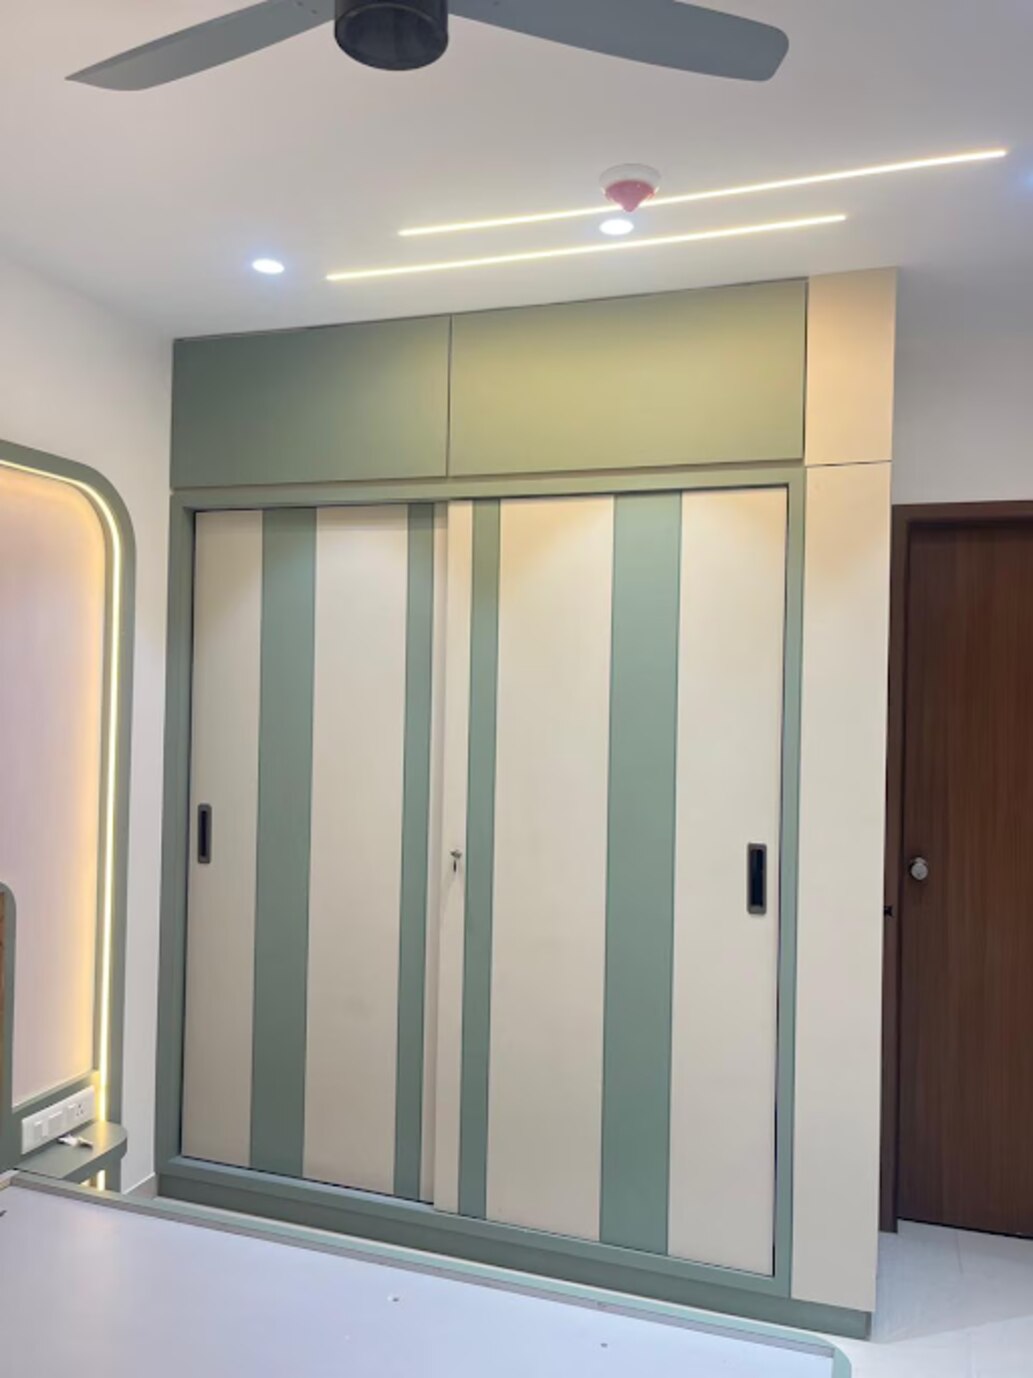
A wardrobe becomes cluttered when its shelves, rails and drawers do not match the clothes and accessories you actually own. By measuring the room, counting each storage category and checking access, you can plan a layout that keeps daily items visible while moving luggage, blankets and seasonal belongings out of the way.
Key takeaways
- Measure walls at floor and ceiling level before finalizing the wardrobe.
- Assign separate zones for hanging clothes, folded items, shoes and accessories.
- Choose wardrobe doors by comparing access, clearance and usable interior space.
- Secure tall units, allow ventilation and confirm installation details before ordering.
Measure the bedroom before fixing the wardrobe layout
A wardrobe remains usable only when its external size, door movement and walking space work together. Take a bedroom wardrobe measurement at floor level and again near the ceiling; walls, corners and floors are not always square.
1. Record the clear wall width between corners, door frames, windows and fixed furniture. Mark switchboards, sockets and skirting. Include the skirting-board depth, because it can leave a gap behind a flat cabinet or push the wardrobe into the passage.
2. Measure the ceiling height at the proposed wall. Subtract space for levelling, installation and any loft cabinet. A tall or narrow unit needs wall anchoring, especially on an uneven floor or where children can pull open drawers.
3. Check the wardrobe’s external depth against bed clearance, passage width and door or window opening. Then verify usable internal depth: adult hangers usually need about 550–600 mm, while folded-clothing shelves are easier to use at roughly 300–350 mm. Do not confuse internal depth with carcass and door thickness.
4. Mark the full swing of hinged doors and the travel of drawers. Keep these areas clear of the bed, bedside tables and other furniture, and confirm that open doors will not block a switchboard or window.
Use the smallest measured wall width and height when ordering, not the average. Allow space to level, fix and clean behind the unit.
Convert your clothing inventory into storage zones
Count what you own before drawing the internal layout. Group garments by how you store them, then turn each group into wardrobe storage zones: hanging, folded clothes storage, drawers, shoes, accessories and infrequently used items.
- Measure the rail space occupied by shirts, trousers and jackets, then add room for new purchases. Use double-hang rods for shorter garments, with each rail about 900–1,100 mm high; keep the lower rod reachable.
- Reserve one long-hang section, about 1,500–1,700 mm high, for dresses, coats and long trousers. Do not split this space into two rails.
- Plan shelves about 300–350 mm deep for folded garments. Shallow shelves keep stacks visible; deep shelves bury lower items.
- Assign drawers to underwear, sleepwear and small clothing. Add dividers when loose items become mixed.
- Give shoes, books and folded blankets the lowest zone. Store luggage and seasonal bedding in loft compartments rather than daily-use areas.
- Choose adjustable shelves and repositionable rails so the layout can change as your wardrobe changes.
Check the cabinet’s usable internal depth: adult hangers need about 550–600 mm. Treat the stated depth carefully; carcass and door thickness do not count. Leave extra rail width for comfortable removal, or packed clothes will crease and the zone will fail.
Choose internal wardrobe features by the items they hold
Match each fitting to the way you handle the item, not simply to the available wardrobe width. Drawers let you view underwear and accessories from above, while shallow shelves prevent folded clothes from disappearing into tall stacks.
| Item | Fitting | Why it works |
|---|---|---|
| Underwear | Drawers with dividers | Separate pairs and keep every section visible. |
| Accessories | Pull-out baskets or shallow drawers | Bring scarves, handbags and small items forward without unpacking a shelf. |
| Trousers | Trouser rack | Keeps pairs separated and reduces creasing. |
| Belts and ties | Belt and tie holder | Places narrow accessories in one vertical, searchable section. |
| Folded clothing | Adjustable shelves, 300–350 mm deep | Lets you change shelf heights and reach the lower stack. |
| Shoes | Shoe shelves or labelled open bins | Displays pairs clearly; keep heavy footwear in the lowest zone. |
| Shirts and dresses | Double-hang rods and a long-hang section | Uses height efficiently while leaving room for full-length garments. |
Use adjustable shelves rather than a fixed layout: remove one for boots or luggage, or reposition it as your wardrobe changes. Check each pull-out basket and drawer for its full-extension runner load limit; overloading can damage runners and make retrieval difficult.
Make bins smaller than the clear opening, including handle clearance, so you can remove them without scraping adjacent shelves.
Compare hinged, sliding and open wardrobes by usable access
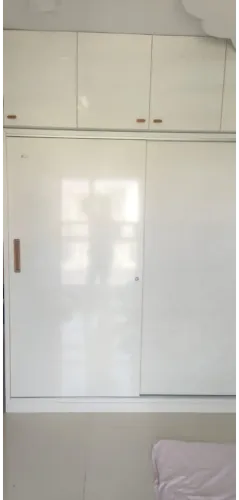
Choose the style that preserves usable access after the bed, passage and nearby furniture are in place. A hinged wardrobe gives the widest simultaneous view, but its doors need a clear wardrobe door clearance zone in front. A sliding wardrobe saves floor space, while an open wardrobe removes door interference altogether.
| Style | Usable access | Space, dust and maintenance |
|---|---|---|
| Hinged wardrobe | Opens the full cabinet width, making corners, drawers and rear shelves easier to reach | Needs door-swing space; door-mounted mirrors or organizers add hinge load and can strike furniture |
| Sliding wardrobe | Saves floor clearance, but normally reveals only part of the cabinet at once | Suits tight passages; keep tracks level and clean or doors will drag and jam |
| Open wardrobe | Gives immediate visibility and unrestricted access to every section | Needs no swing zone, but exposes clothing to dust and requires frequent vacuuming and wiping |
A hinged wardrobe suits a room with clear space in front and awkward corners that need full opening access. Pick a sliding wardrobe where floor clearance is limited, accepting slower access to the far side. Choose an open wardrobe for frequently used clothes and low-maintenance access only if you can control dust.
Check 550–600 mm of usable internal depth for adult hangers; calculate this inside the carcass, not from the wardrobe’s outside measurement.
Use vertical and secondary storage without creating new clutter
Keep daily-use items between waist and eye level, and reserve high or hidden areas for things you rarely need. An overhead loft cabinet suits luggage, spare bedding and seasonal clothing, while an under-bed storage drawer works for shoes or off-season items without occupying walking space.
- Use a wardrobe side panel for a narrow mirror, hooks or a slim accessory rack; keep the projection shallow enough to preserve the passage.
- Add back-of-door storage only for light items such as scarves, belts or jewellery. Check that it clears shelves, drawers and adjacent furniture, and include its weight in the hinge-load calculation.
- Store heavy shoes, books and folded blankets in the lowest compartment. This reduces strain on high shelves, but anchor the wardrobe to the wall rather than relying on the contents for stability.
- Place seasonal items in labelled boxes with fitted lids. Choose identical, wipe-clean boxes, label two sides, and leave enough clearance to remove each one without emptying the cabinet.
Keep boxes off the floor where possible so you can vacuum and mop underneath. Leave a clear route to the under-bed storage, avoid loose piles on top of the wardrobe, and use a plinth that tolerates damp mopping. A labelled box system fails when every container holds mixed categories.
Check safety, ventilation and installation details before ordering
A wardrobe becomes unsafe, damp or frustrating when you plan only its width and height. Missing wall anchoring, blocking airflow against a cold wall, placing drawers where the bed stops them opening, and ignoring uneven floors can create problems after installation.
- Anchor tall or narrow cabinets to a suitable wall; loaded drawers can pull the centre of gravity forward, especially when a child opens one.
- Leave an air gap behind a wardrobe on a damp or cold wall, and provide wardrobe ventilation through the back or top. Keep indoor relative humidity near 30–50% to reduce condensation and mould.
- Check drawer clearance with the bed, door and nearby furniture fully open. Keep folded-clothing shelves around 300–350 mm deep so stacks remain visible.
- Mark skirting boards, switches, sockets, beams and uneven floor areas before drilling or levelling.
- Put shoes, books and blankets in lower storage, but do not treat heavy contents as a substitute for wall fixing.
- Include door-mounted mirrors, hooks or organisers in the hinge load calculation; extra weight can cause sagging or interference.
Nilkanth Modular Kitchen Interior - 9766310041 can help translate these checks into a measured wardrobe plan, but you should approve the anchoring point, ventilation gap and clearances before fabrication.
Related product
 | Wardrobe 7x9 View product → |
Frequently asked questions
How should you measure a bedroom before planning a wardrobe?
Measure the wall width at floor level and near the ceiling, then check height, depth, corners, floor level and door clearance. Include walking space and the swing of nearby doors or windows.
How do you turn a clothing inventory into wardrobe storage zones?
List hanging clothes, folded garments, shoes, bags, accessories and seasonal items. Give each category a defined zone sized for its volume and frequency of use.
Which internal wardrobe features suit different items?
Use hanging rails for shirts, dresses and trousers; shelves or drawers for folded clothing; shoe racks for footwear; and shallow compartments or trays for accessories.
Which wardrobe door style provides the best access?
Hinged doors provide full access to one section when open but need swing clearance. Sliding doors save floor space but expose fewer sections at once. Open wardrobes offer immediate access but require consistent organization.
How can you use vertical and secondary storage without adding clutter?
Use upper shelves for seasonal items, labeled boxes for infrequent belongings and hooks or organizers inside doors. Keep daily-use items within easy reach and avoid filling every surface.